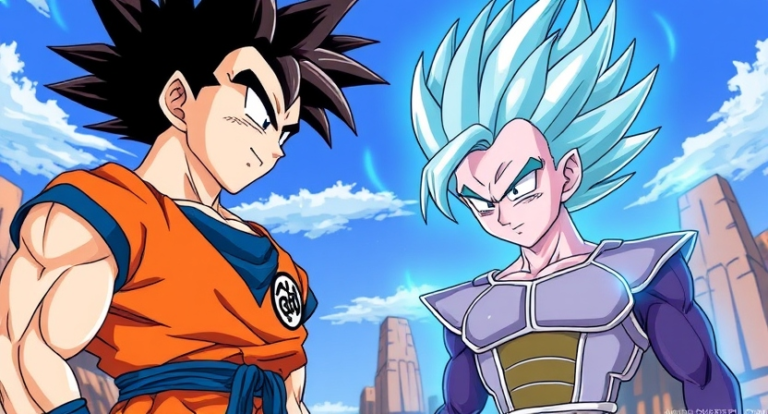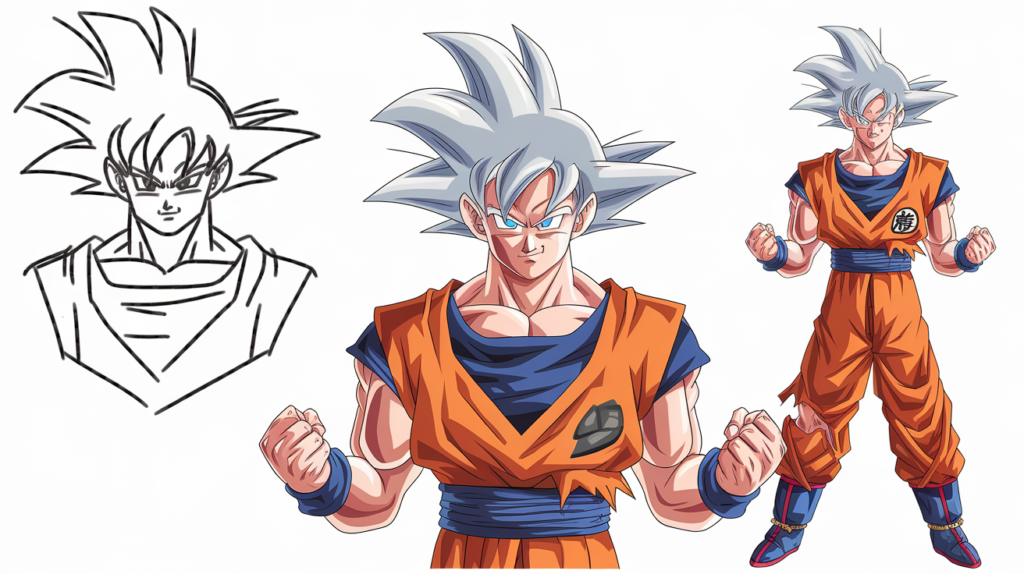
Discover an easy Goku drawing tutorial perfect for beginners. Unlock your creativity with this straightforward guide for Goku drawing. If you’re a fan of Dragon Ball Z, chances are you’ve wanted to draw Goku at some point. With his powerful stance, intense expressions, and iconic spiky hair, Goku drawing can seem like a challenge. But fear not! This step-by-step guide will walk you through every stage of creating your own Goku masterpiece, even if you’re a beginner. Ready to get started? Grab your pencils, and let’s begin.
Materials You’ll Need For Goku Drawing
Before diving into the drawing process, make sure you have the right tools. Here’s what you’ll need to get started:
- Pencil: A medium-hard pencil (HB or 2B) works best for sketching.
- Eraser: You’ll be doing a lot of refining, so a soft eraser is a must.
- Paper: Any sketch paper will do, but smoother surfaces allow for cleaner lines.
- Optional: Inking pens for final lines and colored pencils or markers if you want to add color.
Step 1: Drawing the Basic Outline of Goku’s Head
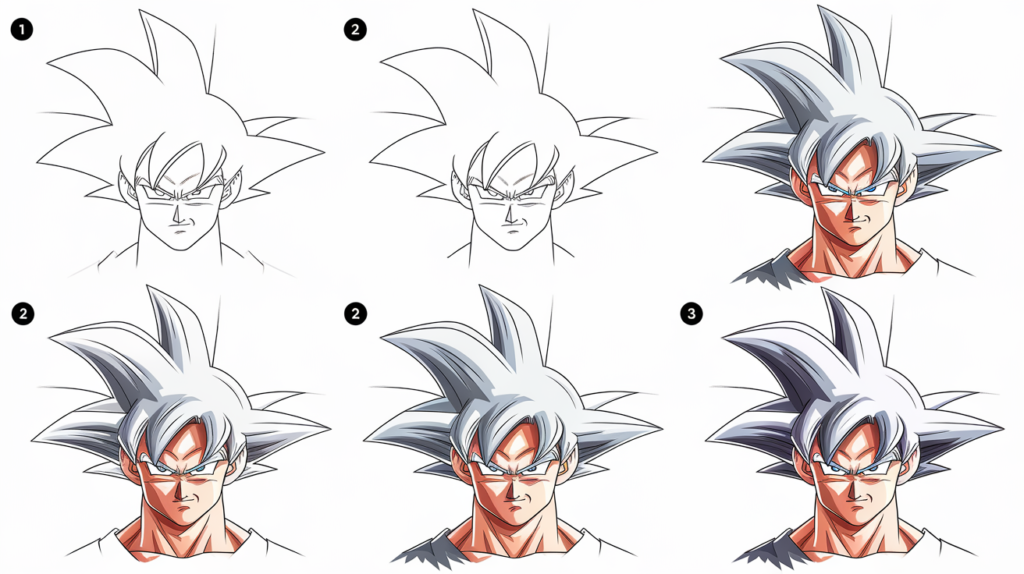
Begin by sketching a simple circle in the center of your paper. This will form the foundation for Goku’s head. Don’t worry about getting it perfect this is just a guideline. Next, draw a vertical line down the center of the circle and a horizontal line about one-third of the way down. These guidelines will help you place his facial features correctly.
Step 2: Sketching Goku’s Facial Features

Now, it’s time to work on Goku’s face. His eyes are key to capturing his intense look. Draw two almond-shaped eyes just above the horizontal line. Make sure they’re slightly angled to give Goku drawing that determined expression. Add the pupils, making them small and focused. Below the eyes, sketch a small, simple nose, and then draw his stern mouth in a straight line just below.
Step 3: Drawing Goku’s Signature Spiky Hair
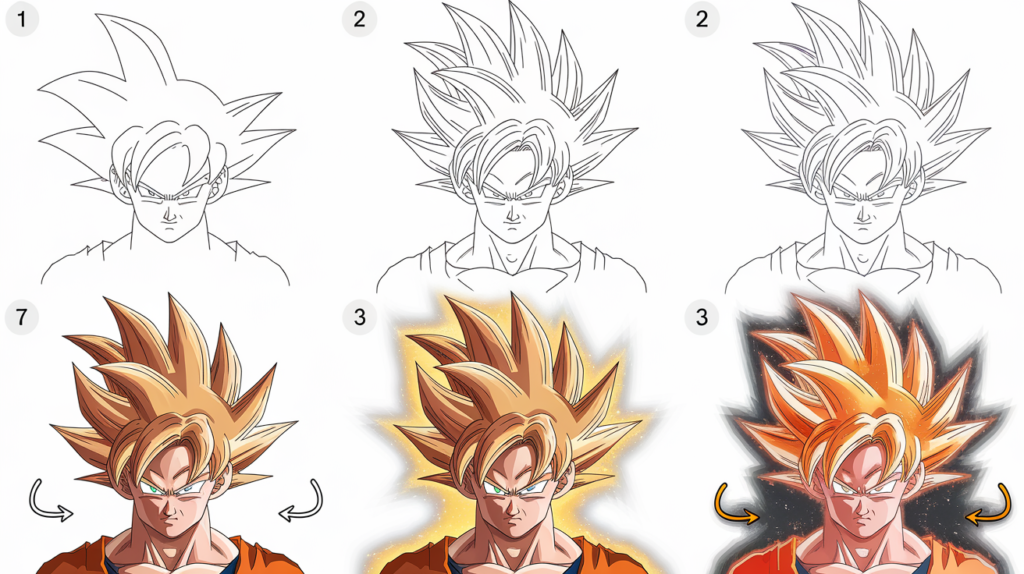
Goku’s spiky hair is one of his most recognizable features. Start from the top of the head and draw large, dynamic spikes shooting outwards. The hair should feel energetic, with the spikes varying in size. Think of the hair as sections rather than individual strands. A good tip is to imagine the hair flowing upward as if being pushed by an invisible force, adding volume and intensity to your sketch.
Step 4: Sketching the Neck and Shoulders

Now that the head and face are outlined, draw two curved lines coming down from the head to form the neck. Goku’s neck is thick and muscular, so make sure the lines reflect that strength. Extend those lines outward to form broad shoulders. Pay attention to proportions here the shoulders should be wider than the head to capture Goku’s powerful build.
Step 5: Drawing Goku’s Upper Body
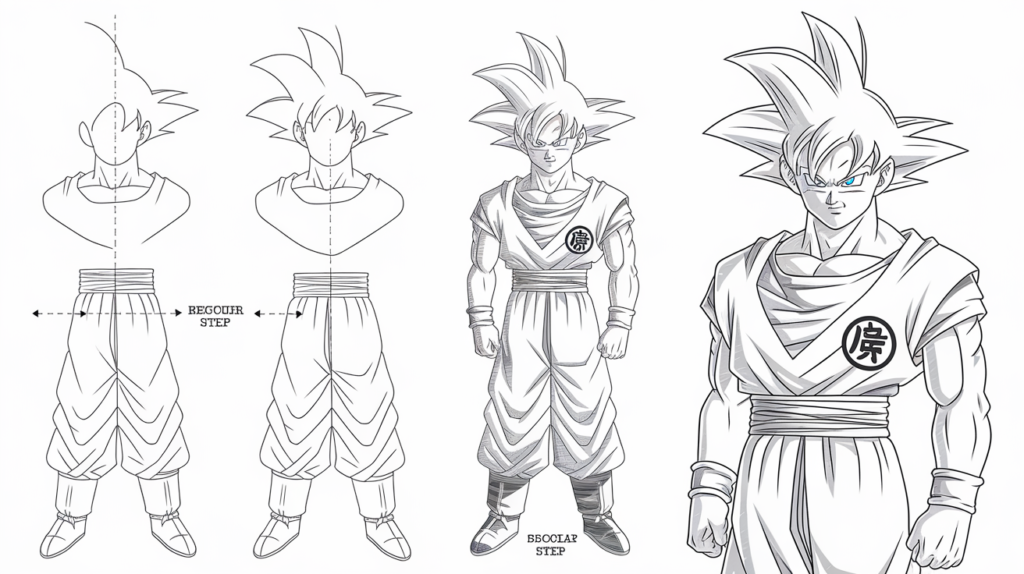
Goku is known for his muscular frame, so his torso is important. Begin by sketching a rectangle shape for the upper body. Add in details like the muscular chest and the folds in his gi (his martial arts uniform). Goku’s gi has a loose, baggy fit, so the fabric should have noticeable folds, especially around the waist where his belt ties.
Step 6: Adding Goku’s Arms

Goku’s arms are muscular, so focus on adding muscle definition. Start with simple lines to represent the arms’ positioning. You can have Goku drawing in a fighting stance or perhaps readying an energy blast. Once you have the basic shape, add definition by outlining the muscles biceps, triceps, and forearms. Don’t forget the hands Goku’s hands are large and expressive, especially if you’re drawing him in an action pose.
Step 7: Drawing the Lower Body and Legs
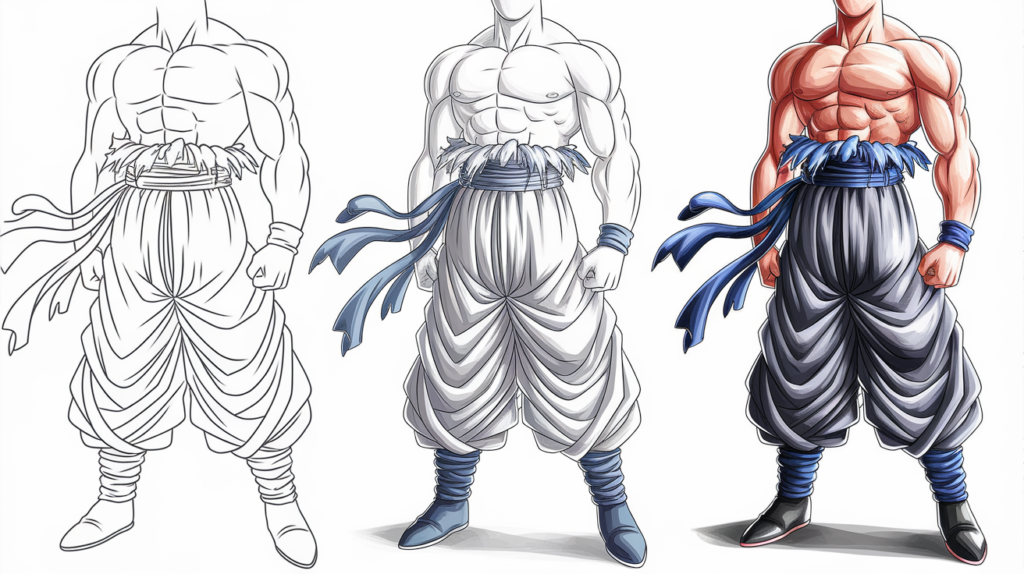
Now, sketch out the lower half of Goku’s body. His pants are baggy, just like his gi, so add plenty of folds and creases to show the movement of the fabric. His legs should be proportional to his upper body strong and sturdy, as Goku drawing is often in fighting stances. Draw the pants in such a way that the folds move with his body, adding realism to the drawing.
Step 8: Refine the Details
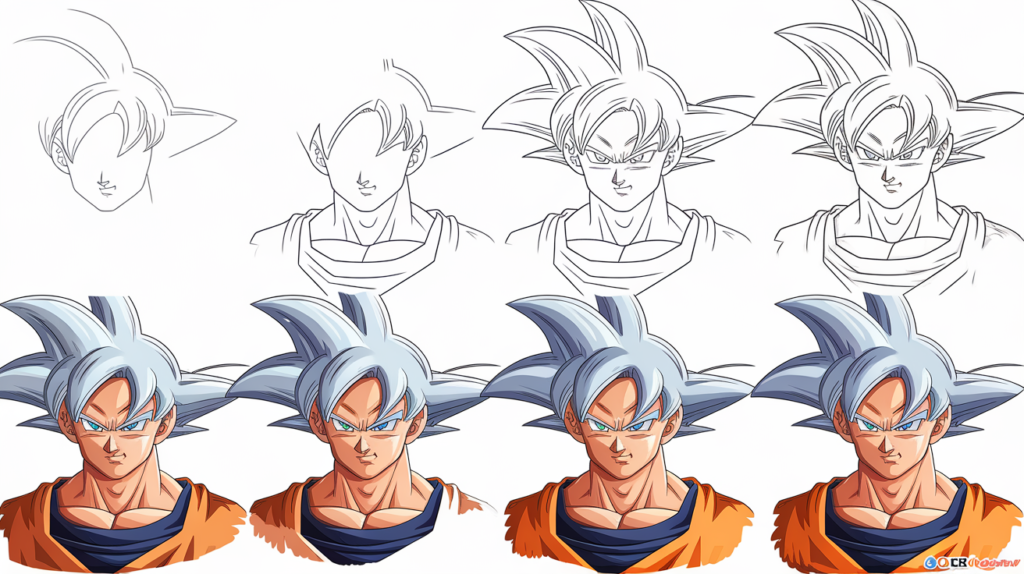
Once you’ve blocked out the basic shapes, it’s time to go back and refine the details. Fine-tune the lines of his facial features, add more texture to his hair, and perfect the folds in his clothing. Pay close attention to where shadows would naturally fall, especially under the hairline, around the muscles, and in the folds of his gi.
Common Mistakes to Avoid When Drawing Goku
- Proportional errors: Goku’s head should be in proportion to his muscular body. Avoid making his head too small or too large.
- Overcomplicating the hair: Goku’s hair should be dynamic but not overly detailed. Focus on the large spikes rather than individual strands.
Tips for Mastering Goku Drawing
Practice is key to mastering any skill, including drawing Goku. Use reference images to help guide your proportions and poses. Experiment with different styles try drawing Goku in a more realistic or even cartoonish way. And remember, every artist develops at their own pace.
Conclusion
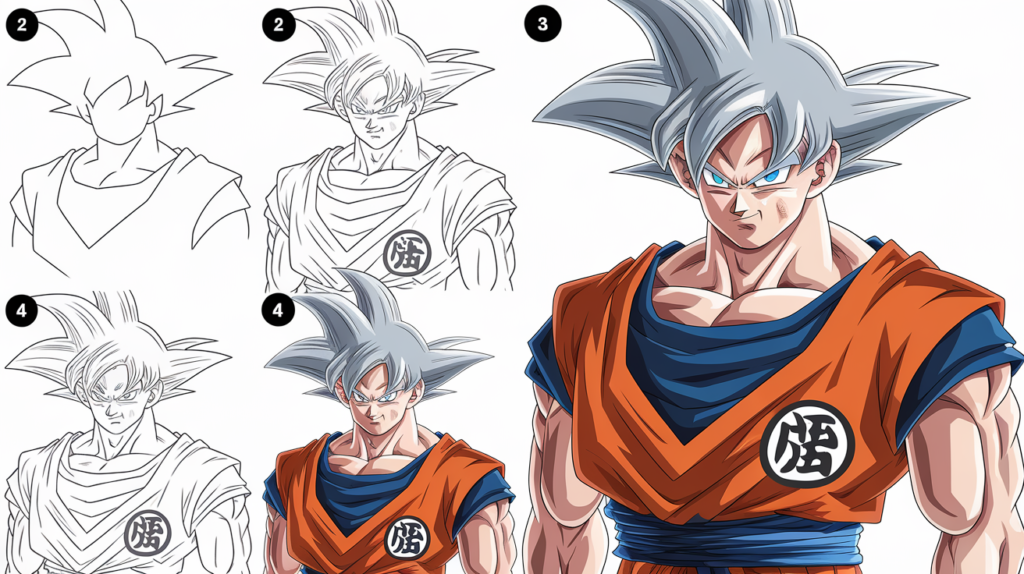
Goku drawing may seem challenging at first, but with practice and this step-by-step guide, you’ll be able to capture the energy and power of this beloved character. Keep refining your skills, and don’t get discouraged by mistakes they’re part of the learning process. So, grab your pencils and start drawing.
FAQs On Goku Drawing
How long does it take to master Goku drawing?
It varies depending on skill level, but with regular practice, you can see improvement in just a few weeks.
Do I need to color my drawing?
No, but adding color can make your drawing pop. If you prefer black and white, shading can still add depth.
How can I improve my anime drawing skills?
Practice regularly, study reference images, and watch tutorials to understand anatomy and proportions.
Can I draw Goku in different styles?
Absolutely! You can experiment with different art styles realistic, chibi, or even your own original twist.
What are some good beginner tips for drawing characters?
Start with basic shapes to block out the character’s form, practice regularly, and don’t stress over mistakes they’re how you learn.

